Share
With more and more user data being collected and processed by companies, it’s no wonder that protecting and managing data privacy have become major concerns. At AWS, the response has been to create Amazon Macie, a service to discover and monitor sensitive data in AWS S3 buckets.
How can you use this tool to protect the private data you store? In this article we’ll take a closer look at Macie and the two different types of accounts it uses—Master and Member—which will be important to understand the difference between the two before enabling Macie.
The New Data Privacy Demands
The sad truth is that data leaks. By now you must have heard of a few cases of a data breach exposing private information held by a major business. This is a nightmare both for the business controlling the data, and the users to whom the data belongs. These incidents can have severe financial impacts, some of which are levied by powerful new data privacy regulations that have been put in place around the world, such as GDPR and CCPA, violations of which have cost some companies billions of dollars.
Because of these laws, data privacy and security have become paramount today for any organization, irrespective of the domain, size, and geography of the organization. As most of workflows are moving to cloud storage and computing, almost all of the data that is generated is stored online. With online storage, it becomes very difficult to maintain compliance when it comes to security and privacy of this data. For example, if you have a public S3 bucket, that itself should be a cause of concern. That is why Amazon introduced AWS Macie.
What Is AWS Macie?
Amazon Macie is a fully managed service in the AWS stack used for data security and data privacy. Macie uses a combination of machine learning and pattern matching to discover sensitive data in AWS S3 buckets. You can configure Macie to monitor one or more S3 buckets and flag any file that contains potentially sensitive data.
AWS Macie’s primary focus is to track down personally-identifiable information (PII), such as credit card and government issued ID numbers. Along with this, you can configure custom data identifiers so that Macie can flag down any data that is sensitive to your business or organization.
But before you can get started, it is very important to understand the difference between the two types of accounts that Amazon Macie provides.
Amazon Macie Master and Member Accounts
Amazon Macie has two types of accounts, a master account and a member account. It is important to understand the difference between the two types of accounts before enabling Macie for your organization.
A master account, as the name suggests, is responsible for the overall administration of Macie. The master account is also responsible for creating definitions of sensitive data, creating sensitive data discovery jobs, configuring S3 buckets, and much more.
The master account is the only account which can create and manage member accounts. The master account will also have the ability to pause or suspend Macie for any of the associated member accounts.
A member account, on the other hand, can only view their own policies, look at the results of jobs run on their own data, and run jobs on their own data.The following table from the AWS Macie documentation clearly defines the responsibilities and limitations of each account.
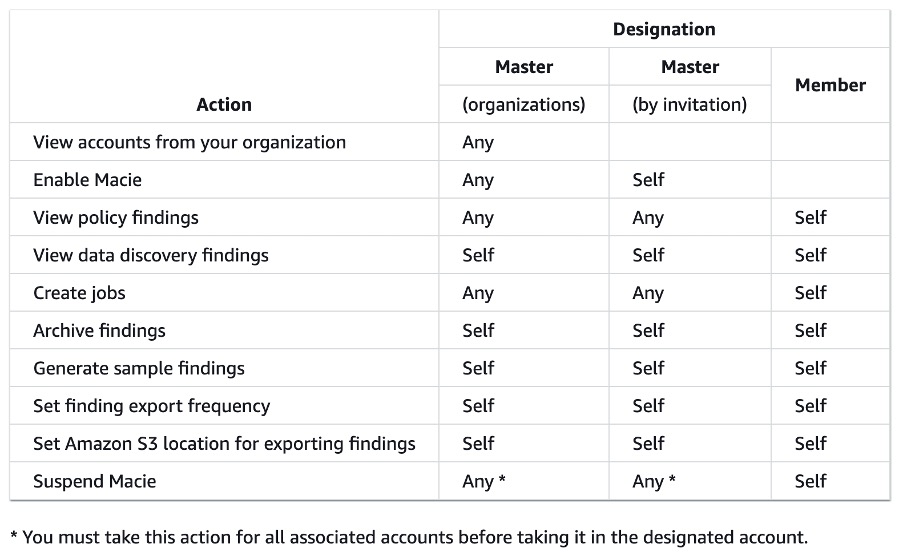 Fig. 1: Responsibilities and limitations of master and member accounts
Source: Macie Documentation
As you can see from the image above, based on how you create a master account (by organization or invitation), there are some minor differences in the responsibilities. According to Amazon’s documentation, the best and the recommended way of creating a master account and managing Macie is by creating an AWS Organization.
How to Configure a Relationship Between Master and Member Accounts on Macie
As already mentioned, there are two ways of managing accounts in Macie: you can either create an organization (which is the recommended way), or create accounts using invitations. The following two sections demonstrate each case.
Managing Macie Accounts with AWS Organizations
Before you can create and manage Macie accounts with AWS Organization, you first need to create an AWS Organization. For this, head over to the AWS Organizations page, where you should see the option to create a new AWS Organization, as shown in the image below. From here, follow the steps to create a new Organization.
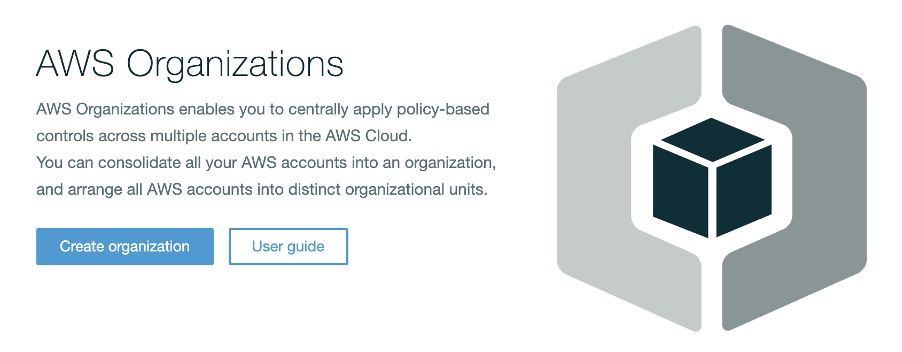 Fig. 2: Create Organization screen
1. Click the “Create organization” button here. You’ll get a dialog which tells you what the organization will be able to do, as shown in the image below. Click the “Create organization” button again in the dialog.
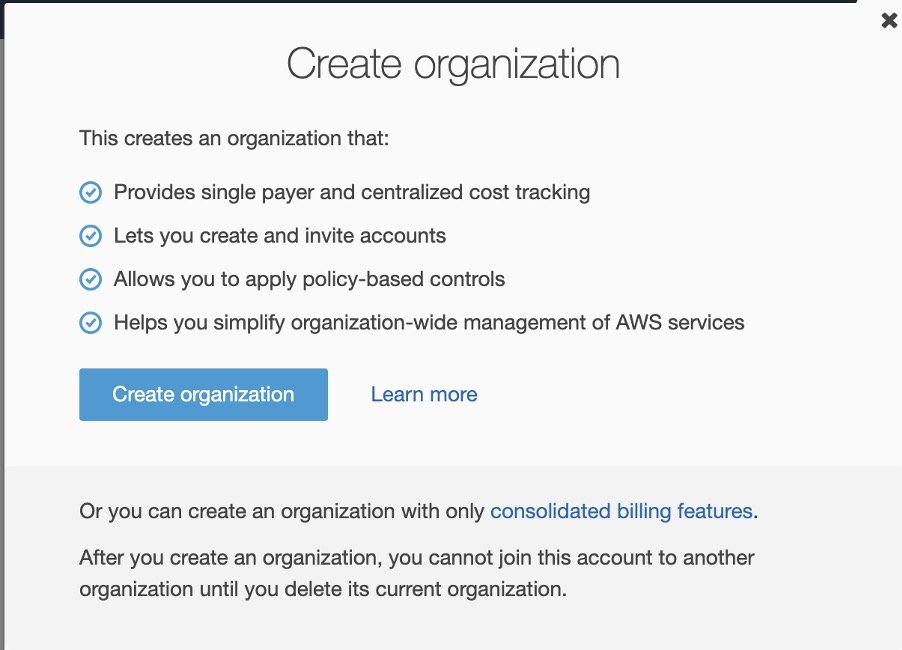 Fig. 3: Create Organization dialog
2. Once you create an organization, you will get a verification email from AWS where you have to verify your email address. Go ahead and do so.
3. Back on the AWS Organizations page,, under the Accounts tab you will now see your own account (with your Account ID) listed as the master account.
Hover over the star against your account name to make sure it’s the master account, as shown in the image below.
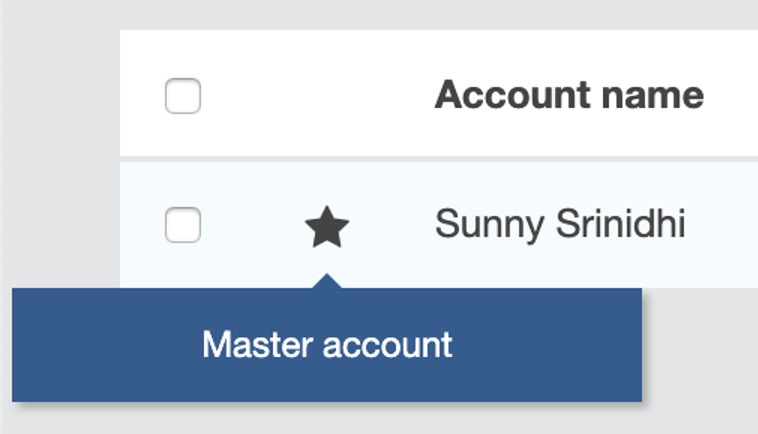 Fig. 4: The Master account in AWS Organizations
4. After this, you can start adding member accounts to this organization using the “Add account” button at the top of the page.
You have two options to add an account: you can either create a new AWS account, or invite an AWS account which is already created.
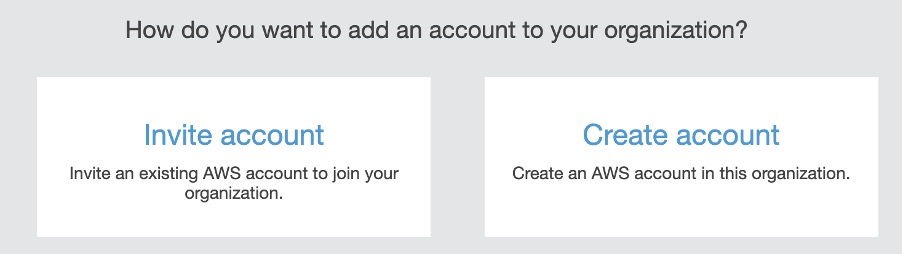 Fig. 5: Add account to AWS Organizations
If you want to invite an existing AWS account, you need to provide the account ID or the email address of the registered AWS account. Also, if you want to add multiple accounts, you can provide a comma separated list of account IDs or email addresses here, and they will all be added to the organization as member accounts.
 Fig. 6: The Invite account
5. Once you create an invite, you will also have the option to cancel the invitation. But if the account has already accepted the invitation and has been added to your organization, the master account can remove the account from the organization at any time. You can see the list of all invitations by clicking the Invitations button to the right of the page.
6. If you want to create a new account instead of inviting an account, you need to provide the AWS account name, an email address, and an IAM role name. Even though the IAM role name is optional, it is highly recommended to associate an IAM role with the new account so that the account does not have unnecessary privileges.
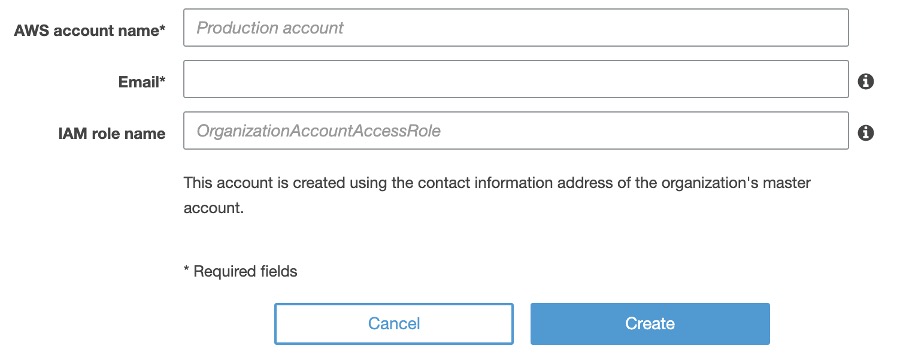 Fig. 7: Create a new AWS account to add to the organization
7. After the account is created, AWS will send a verification email to the email address you provided. After you verify the email address, the account will be created and added to the organization.
Managing Macie Accounts with Invitations
If you do not want to create an organization in AWS Organizations, you can easily invite accounts to Macie using the Accounts sections in the Macie navigation bar.
1. To add an account, you need to provide the account ID and the email address associated with the account. If you want to invite multiple accounts, you can create a CSV file with the account IDs and the email address of the accounts and upload that file to Macie.
The image below shows the format of the CSV file:
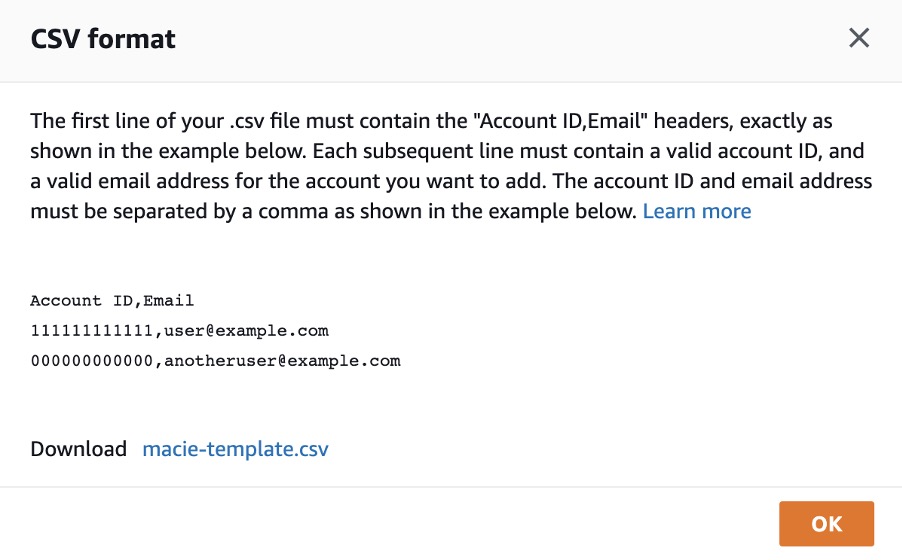 Fig. 8: Format of the CSV file to be uploaded
2. After you invite these accounts to Macie, each account will get a verification email. Verify it.
3. Once an account verifies the email address, it will be added to Macie. After this, the master account will be able to enable Macie on these accounts, create jobs, and also manage these accounts.
But Sensitive Data Is More than PII
With the increase in the reliance of cloud storage across organizations, it is important now more than ever to be able to make sure that the data you or other people in your organization are storing in the cloud is behind a safe and secure privacy policy. Data privacy and security is important for not only cloud-native organizations, but for any organization having any piece of sensitive data stored away in the cloud. Amazon Macie offers one way that users can gain this level of oversight when it comes to PII, but sensitive data goes beyond just phone numbers and government IDs. There is another way.
NetApp Cloud Compliance is an automatic data mapping and data privacy control service now available for use with Amazon S3 buckets that pinpoints not just PII, but sensitive private information related to user biography, political beliefs, and more. This makes scans of your S3 buckets more accurate and better able to align with data privacy regulations than with Amazon Macie, and with none of the complications of configuring Master and Member accounts. Cloud Compliance allows you to pinpoint where that sensitive data is, and returns more accurate, context-aware results.
Plus, not all the data that your organization stores will be located in Amazon S3. What can users do if they also use Azure or Google Cloud to store data? Cloud Compliance not only works directly with Amazon S3 buckets, but also alongside NetApp’s data management platforms Cloud Volumes ONTAP and Azure NetApp Files to pinpoint and report on sensitive personal information in all the other clouds, no matter which storage is being used: Amazon EBS and S3, Azure Blob or Disks, or Google Cloud Storage and Persistent Disks.
Sign up for Cloud Compliance for Amazon S3 buckets, Cloud Volumes ONTAP, or Azure NetApp Files here
