Share
NetApp® Cloud Volumes ONTAP enables you to optimize your cloud storage costs and performance while enhancing data protection, security, and compliance. If the requirement is to run storage like the way you’ve been doing it in on-premises, then Cloud Volumes ONTAP is the simplest answer. Cloud Volumes ONTAP is a cloud-native, fully fledged version of ONTAP running in Azure - leveraging Azure virtual machines (VMs) and premium disks or page blobs, depending on single node or high-availability configuration. Cloud Volumes ONTAP provides all the capabilities and efficiencies that on-premises ONTAP provides. It makes the deployment seamless and very cost-effective with add-ons such as NetApp Snapshot™ copies, NetApp SnapMirror® replication, cloud tiering, which provides performance and capacity tiers, cloud backup service for long-term retention, and the ability to reduce capacity usage by offloading the older Snapshot copies. So, in essence, all the ONTAP capabilities are encapsulated in this software appliance.
Cloud Volumes ONTAP is used by organizations as a disaster recovery mechanism for guest connected storage by using pilot light cluster in conjunction with third-party solutions for VM recovery.
Deploy new Cloud Volumes ONTAP in Azure
Cloud Volumes ONTAP shares and LUNs can be mounted from VMs that are created in the Azure VMware private cloud. The volumes can be mounted on the Linux client and on the Windows client because Cloud Volumes ONTAP supports iSCSI, SMB, and NFS protocols.
After it is deployed within the designated Azure virtual network, the provisioned storage can be easily presented and mounted within the VM’s guest operating system using file-level (SMB, NFS) or block-level (iSCSI) protocols. This can be set up in a few simple steps.
To replicate volumes from an on-premises environment to the cloud for disaster recovery or migration purposes, establish network connectivity to Azure, either using a site-to-site VPN or Azure ExpressRoute. Replicating data from on-premises to Cloud Volumes ONTAP is outside the scope of this blog. For more information about replicating data between on-premises and Cloud Volumes ONTAP systems, see Setting Up Data Replication Between Systems.
Note: Use the Cloud Volumes ONTAP sizer to accurately size the Cloud Volumes ONTAP instances. You can also monitor on-premises performance to use as inputs in the Cloud Volumes ONTAP sizer.
- To start, log in to NetApp Cloud Central¾the Fabric View screen is displayed. Locate the Cloud Volumes ONTAP tab and select Go to Cloud Manager. After you are logged in, the Canvas screen is displayed.

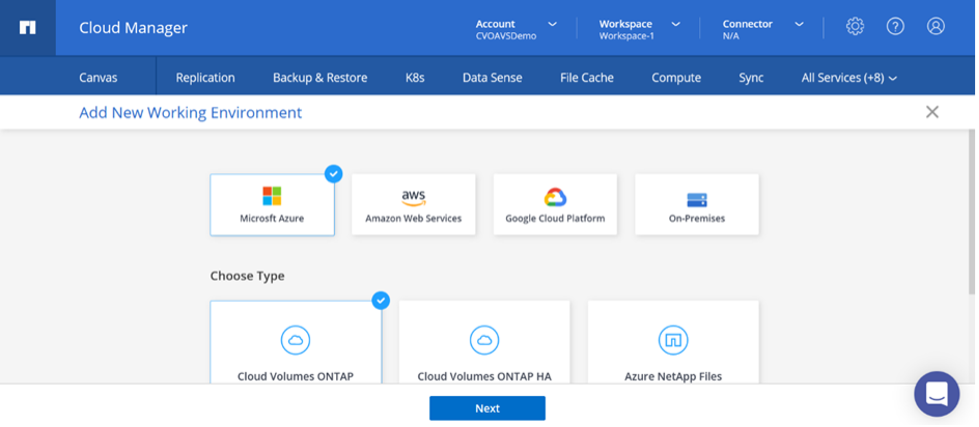
- Click Add a Working Environment on the Cloud Manager main screen, select Microsoft Azure as the cloud, and select the type of the system configuration.
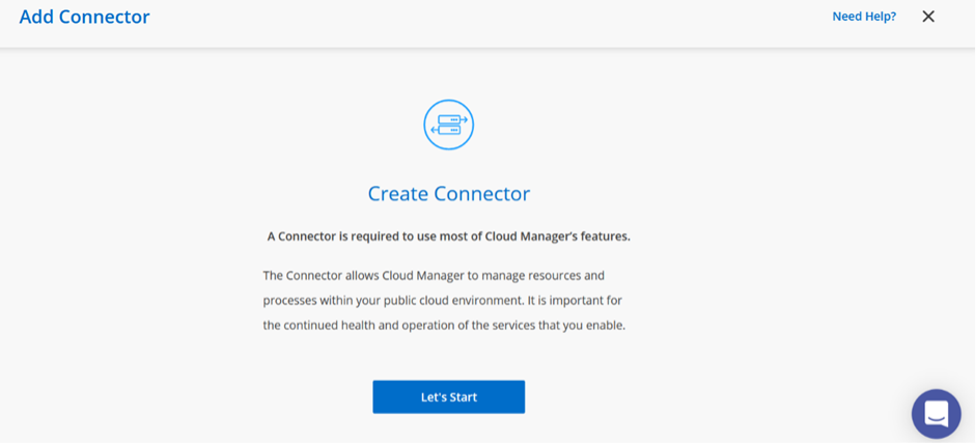
- When creating the first Cloud Volumes ONTAP working environment, Cloud Manager prompts you to deploy a connector.
- After the connector is created, update the details and credentials.
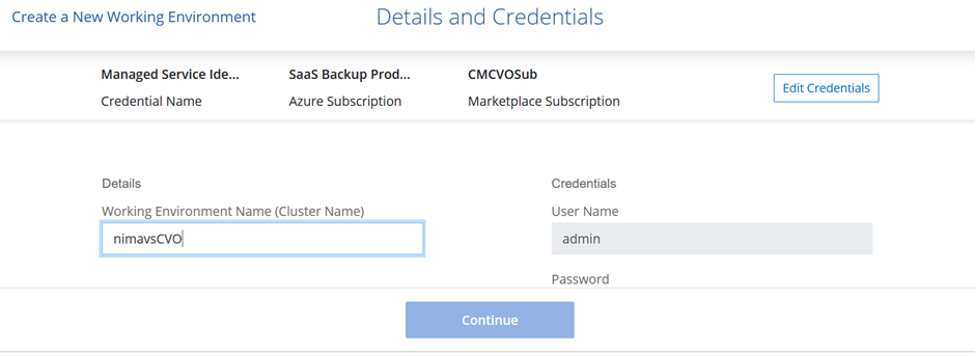
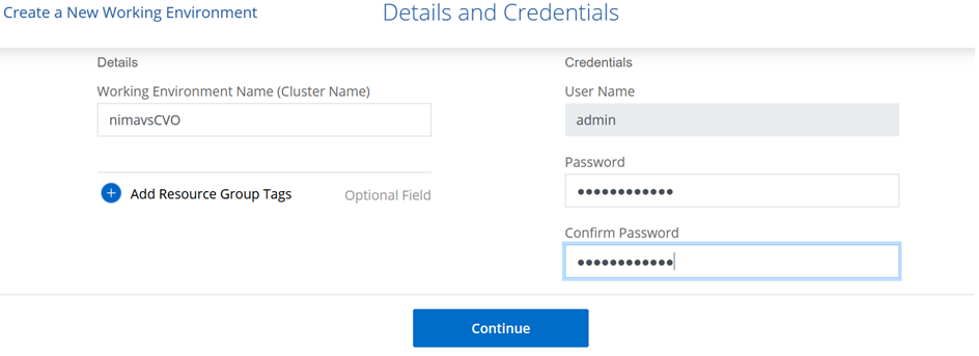
- Provide the details of the environment to be created, including the environment name and admin credentials. Add resource group tags for the Azure environment as an optional parameter. After you’re done, click Continue.
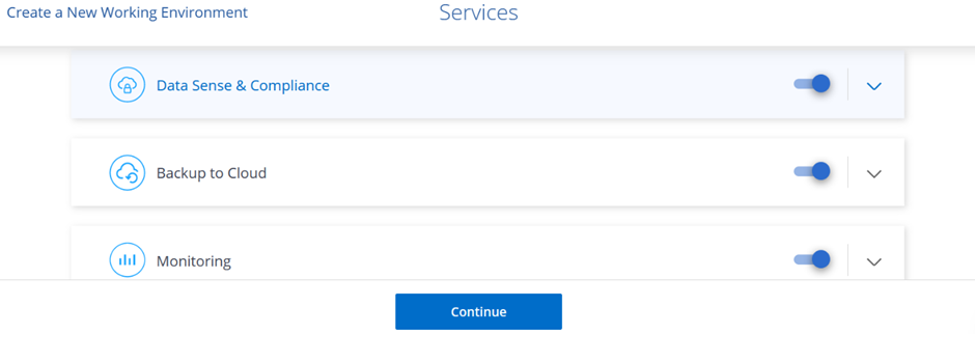
- Select the add-on services for Cloud Volumes ONTAP deployment, including Cloud Data Sense, Cloud Backup, and Cloud Insights. Select the services and click Continue.
- Configure the Azure location and connectivity. Select the Azure Region, resource group, VNet, and subnet to be used. Click Continue.

Note: Confirm that connectivity exists between Cloud Manager Server and the selected VNet.
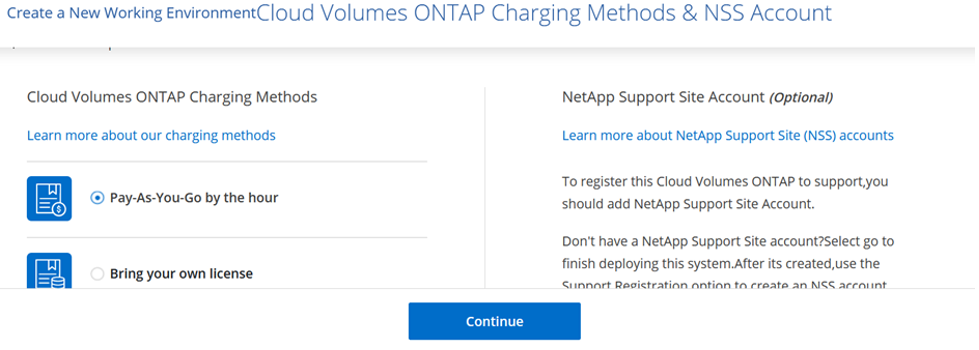
- Select one of the license options: Pay-As-You-Go or Bring Your Own License (for using an existing license). In this example, the Pay-As-You-Go option is used. Click Continue.
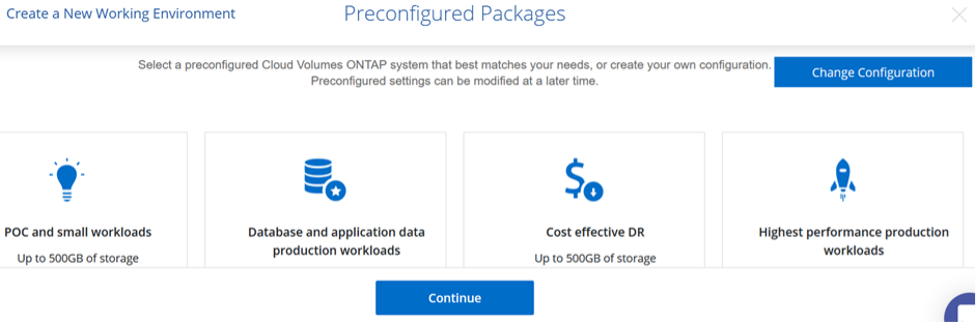
- Select between several preconfigured packages available for various types of workloads. Click Continue.
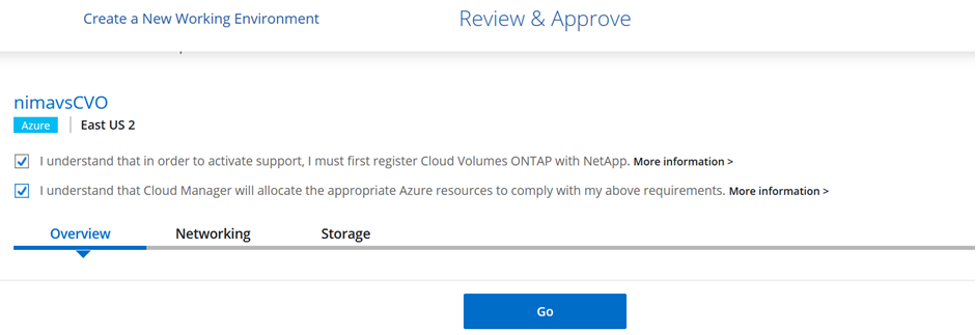
- Accept the two agreements regarding activating support and allocation of Azure resources. To create the Cloud Volumes ONTAP instance, click Go.
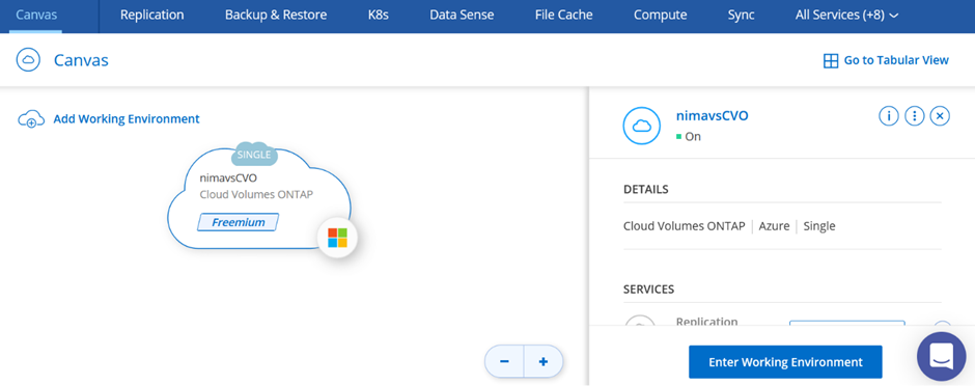
- After Cloud Volumes ONTAP is provisioned, it will be listed in the working environments on the Canvas page.
Additional configurations for SMB volumes
- After the working environment is ready, make sure that the CIFS server is configured with the appropriate DNS and Active Directory configuration parameters. You must do this before creating the SMB volume.

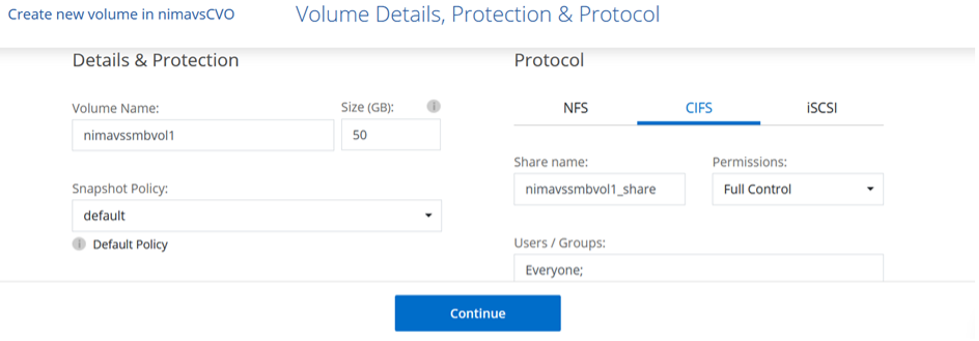
- Creating the volume is a very easy process. Select the Cloud Volumes ONTAP instance to create the volume and click the Create Volume option.
- Select the appropriate volume size. Cloud manager automatically chooses the containing aggregate or you can use the advanced allocation mechanism to place a specific aggregate. For illustrative purposes, SMB is selected as the protocol.
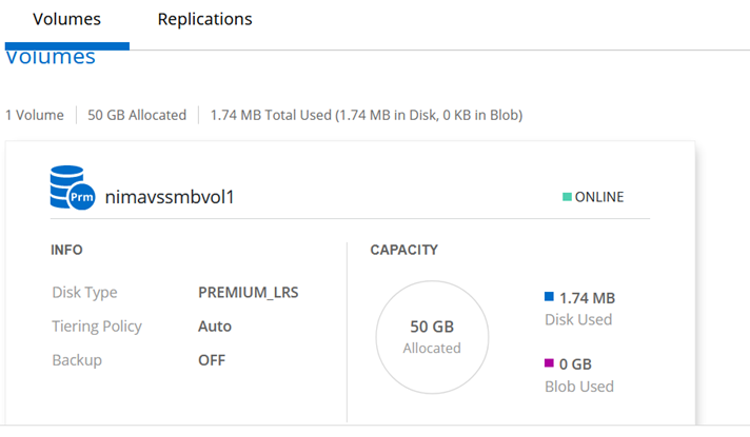
- After the volume is provisioned, it will be available under the Volumes pane. Because a CIFS share is provisioned, provide the users or groups permissions to the files and folders and verify that those users can access the share and create a file. This step is not required if the volume is replicated from an on-premises environment because the file and folder permissions are all retained as part of SnapMirror replication.
- After the volume is created, use the mount command to connect to the share from the VM running on Azure VMware Solution Software-Defined Data Center (SDDC) hosts.
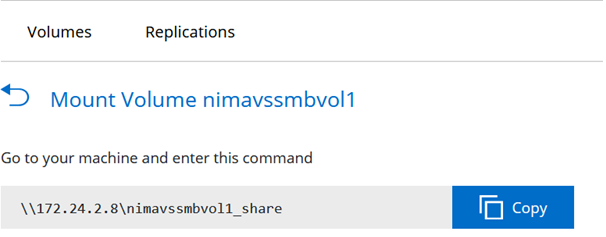
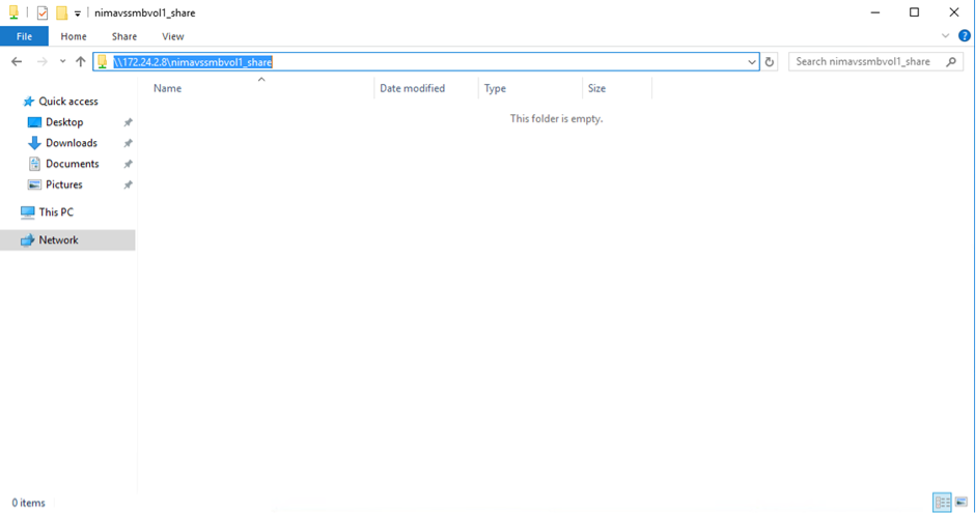
- Copy the path in step 5 and use the Map Network Drive option to mount the volume on the VM running on Azure VMware Solution SDDC.
Use a similar process of creating and mounting NFS volumes on Linux VMs running on Azure VMware Solution SDDC.
In the next part of this series, we will cover connecting iSCSI LUNs to VMs running within Azure VMware Solution.