Share
Azure NetApp Files lets you move your NFS and SMB file share workloads, even your legacy applications, into Microsoft Azure without rearchitecting applications. Azure NetApp Files is built on industry-leading, highly available NetApp® ONTAP® data management software. Azure NetApp Files uses a networking layer developed for this service that dynamically injects the storage files from the underlying bare-metal platform hardware directly into your virtual network at a full line rate, with low data center level latency and with secure traffic isolation.
Azure NetApp Files shares can be easily mounted from virtual machines (VMs) that are created in the Azure VMware Solution private cloud. The volumes can be mounted on the Linux client and mapped on the Windows client because Azure NetApp Files supports SMB and NFS protocols. This can be set up in five simple steps.
Create and mount Azure NetApp Files volumes
To create and mount an Azure NetApp Files volume, complete the following steps:
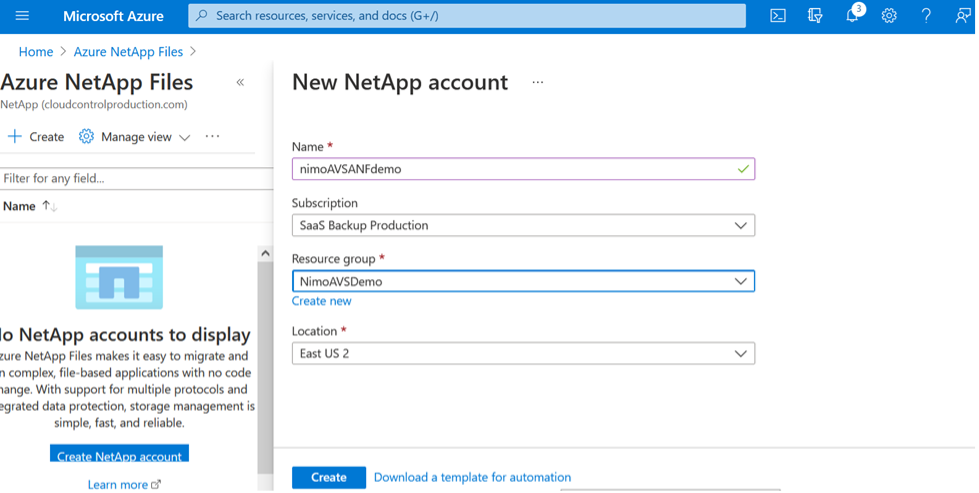
- Log in to the Azure portal and access Azure NetApp Files. Verify access to the Azure NetApp Files service and register the Azure NetApp Files Resource Provider by using the az provider register --namespace Microsoft.NetApp –wait After registration is complete, create a NetApp account. For detailed steps, see Create a NetApp Account.
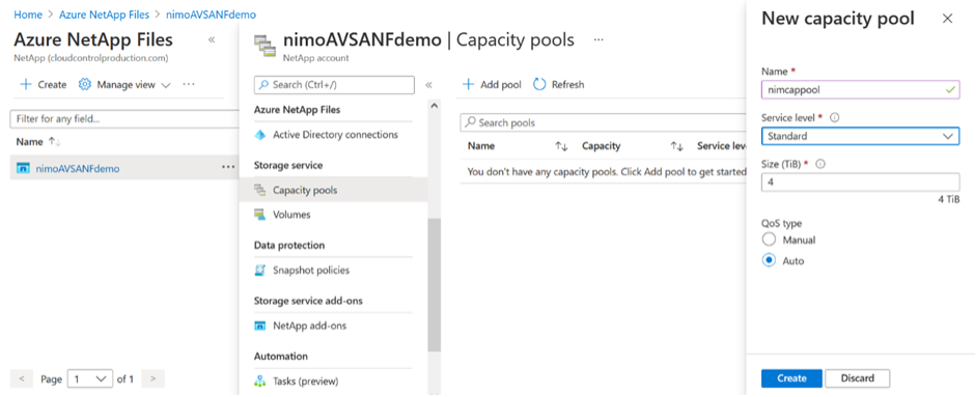
- After the NetApp account is created, set up the capacity pools with the required service level and size. For more information, see Set Up a Capacity Pool.
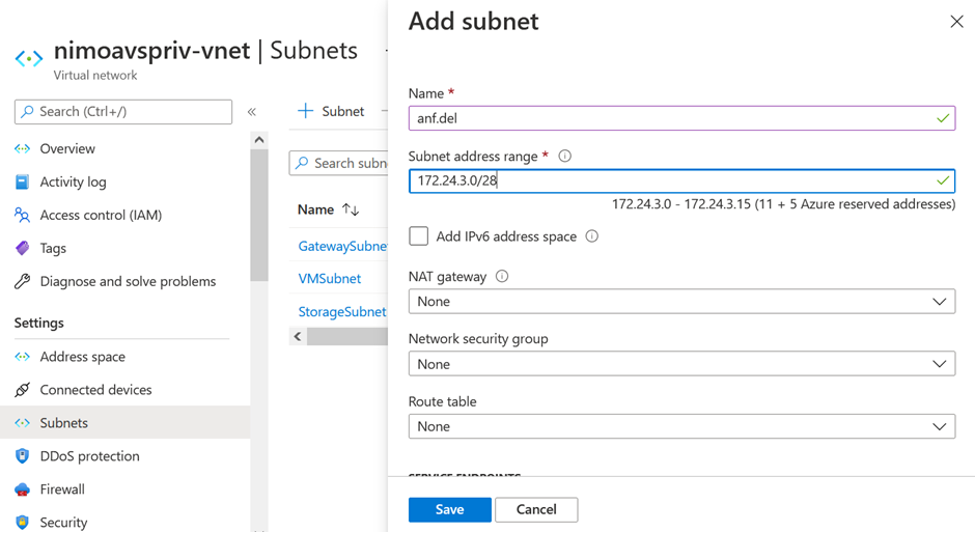
- Configure the delegated subnet for Azure NetApp Files and specify this subnet when creating volumes. For detailed steps about creating a delegated subnet, see Delegate a Subnet to Azure NetApp Files.
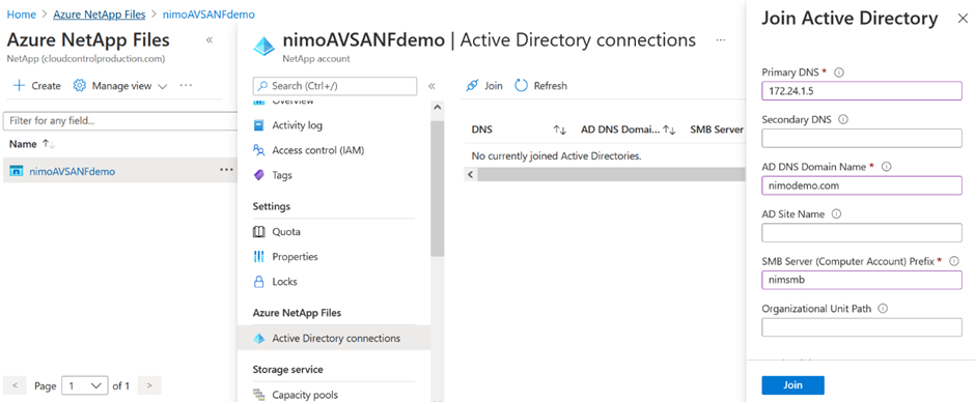
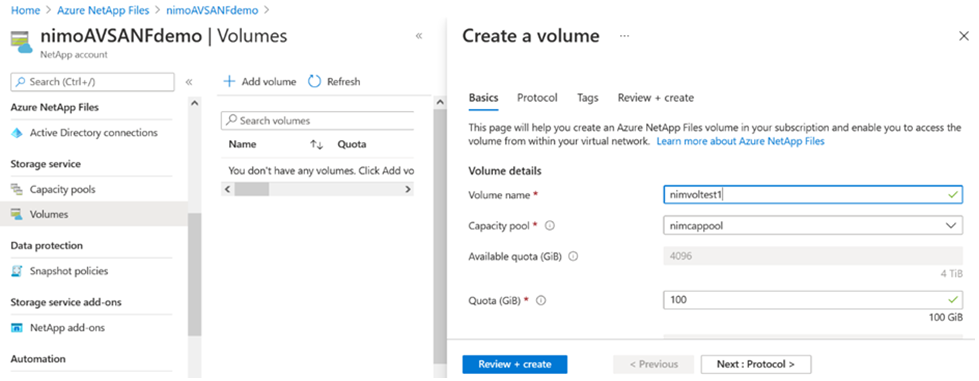
- Add an SMB volume by using the Volumes blade under the Capacity Pools blade. Before you create the SMB volume, make sure the Active Directory connector is configured.
- To create the SMB volume, click Review + Create.
If the application is SQL Server, then enable SMB Continuous Availability.
To learn more about Azure NetApp Files volume performance by size or quota, see Performance considerations for Azure NetApp Files.
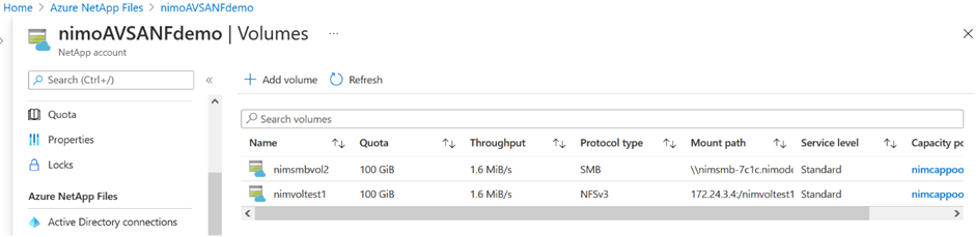
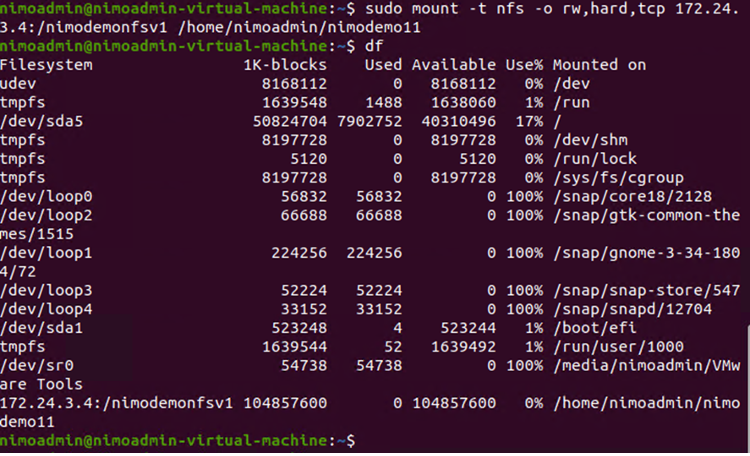
- After the connectivity is in place, the volume can be mounted and used for application data:
- From the Azure portal, click the Volumes blade and then select the volume to mount and to access mount instructions.
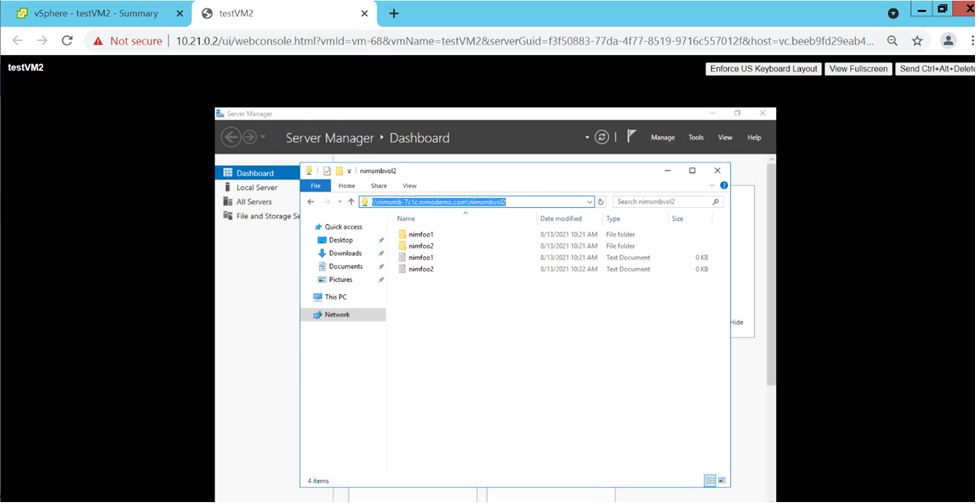
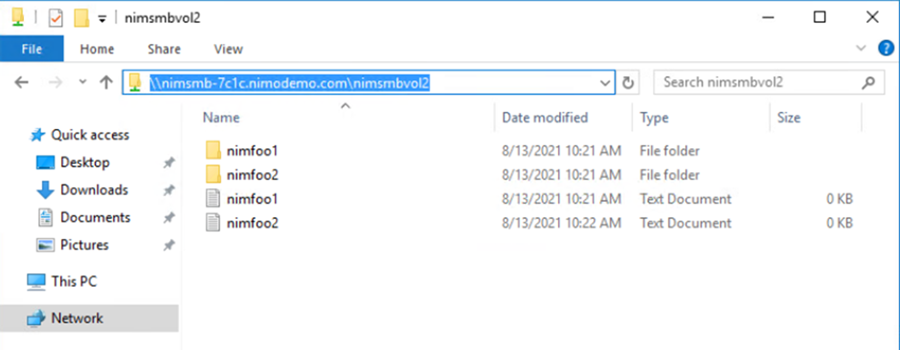
- Copy the path and select the Map Network Drive option to mount the volume on the VM running on Azure VMware Solution Software-Defined Data Center (SDDC).
You can use the NFS volume creation process to provision and mount NFS volumes on Linux VMs running on Azure VMware Solution SDDC. Use volume reshaping or dynamic service level capability to meet the workload demands. For more information, see Dynamically Change the Service Level of a Volume.
In the next part, we will cover leveraging Cloud Volumes ONTAP with Azure VMware Solution to offload storage components from VMware vSAN.